Editing modes: Auto and Manual
Posted 02/19/2024 in Education
Here we will visualize the different zoom levels in floor plan mode and delve into the multiple editing modes: multi-storety edition and multi-unit edition.
Zoom levels
We have adopted a simple way of navigating through the project by defining zoomed views and graphic details. These are reflected in the breadcrumb located in the central part of the top bar.
- Plot level view: corresponds to a general view of the project.
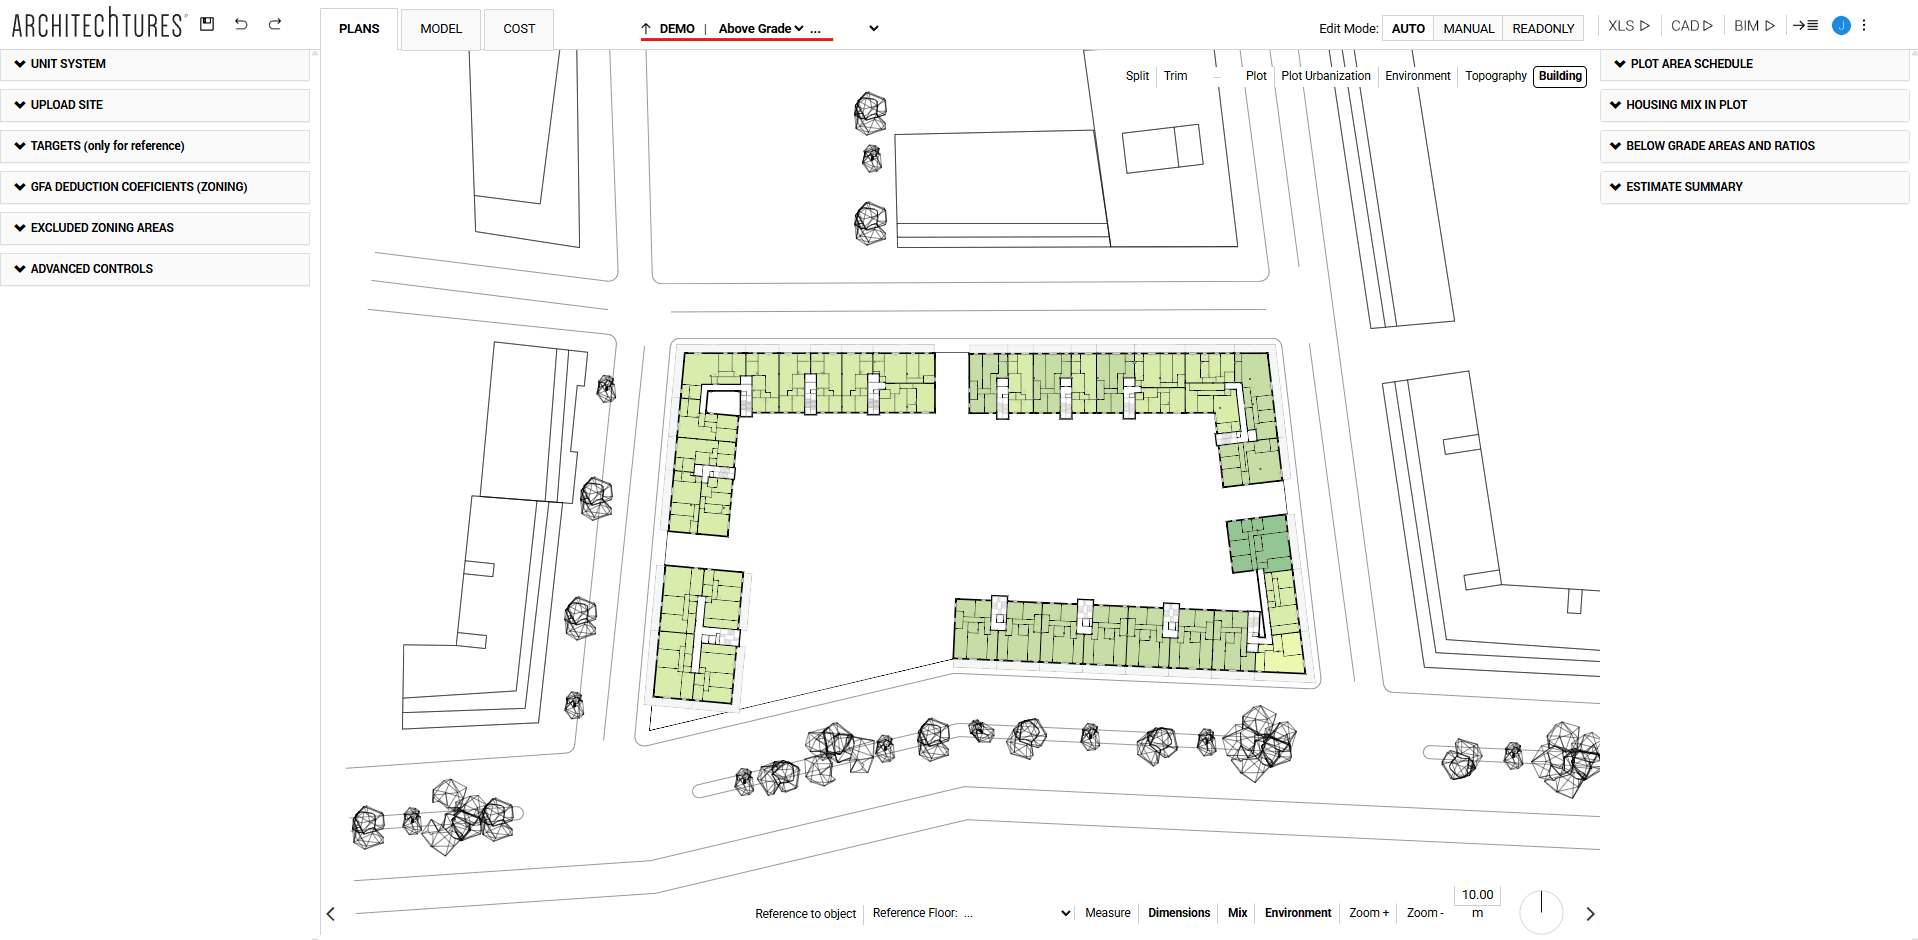
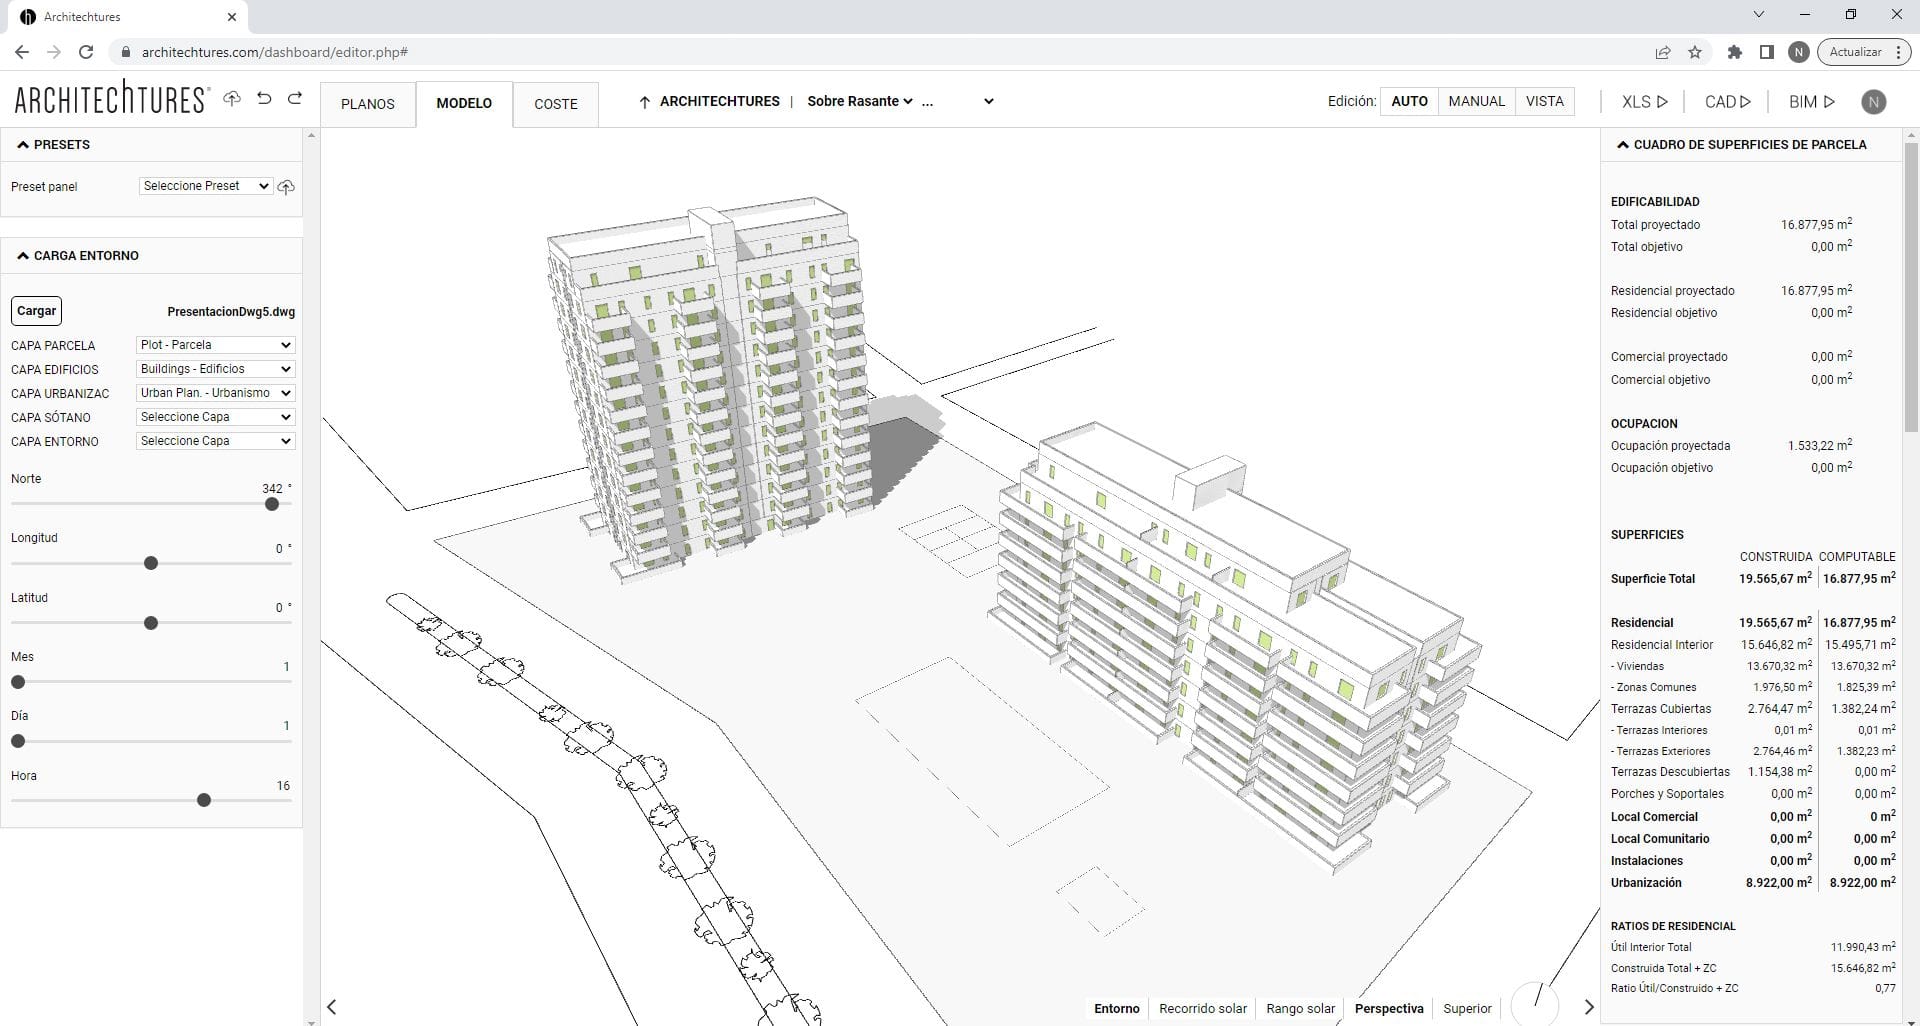
- Building-level view: accessed by clicking on a building in the project from the plot-level view.
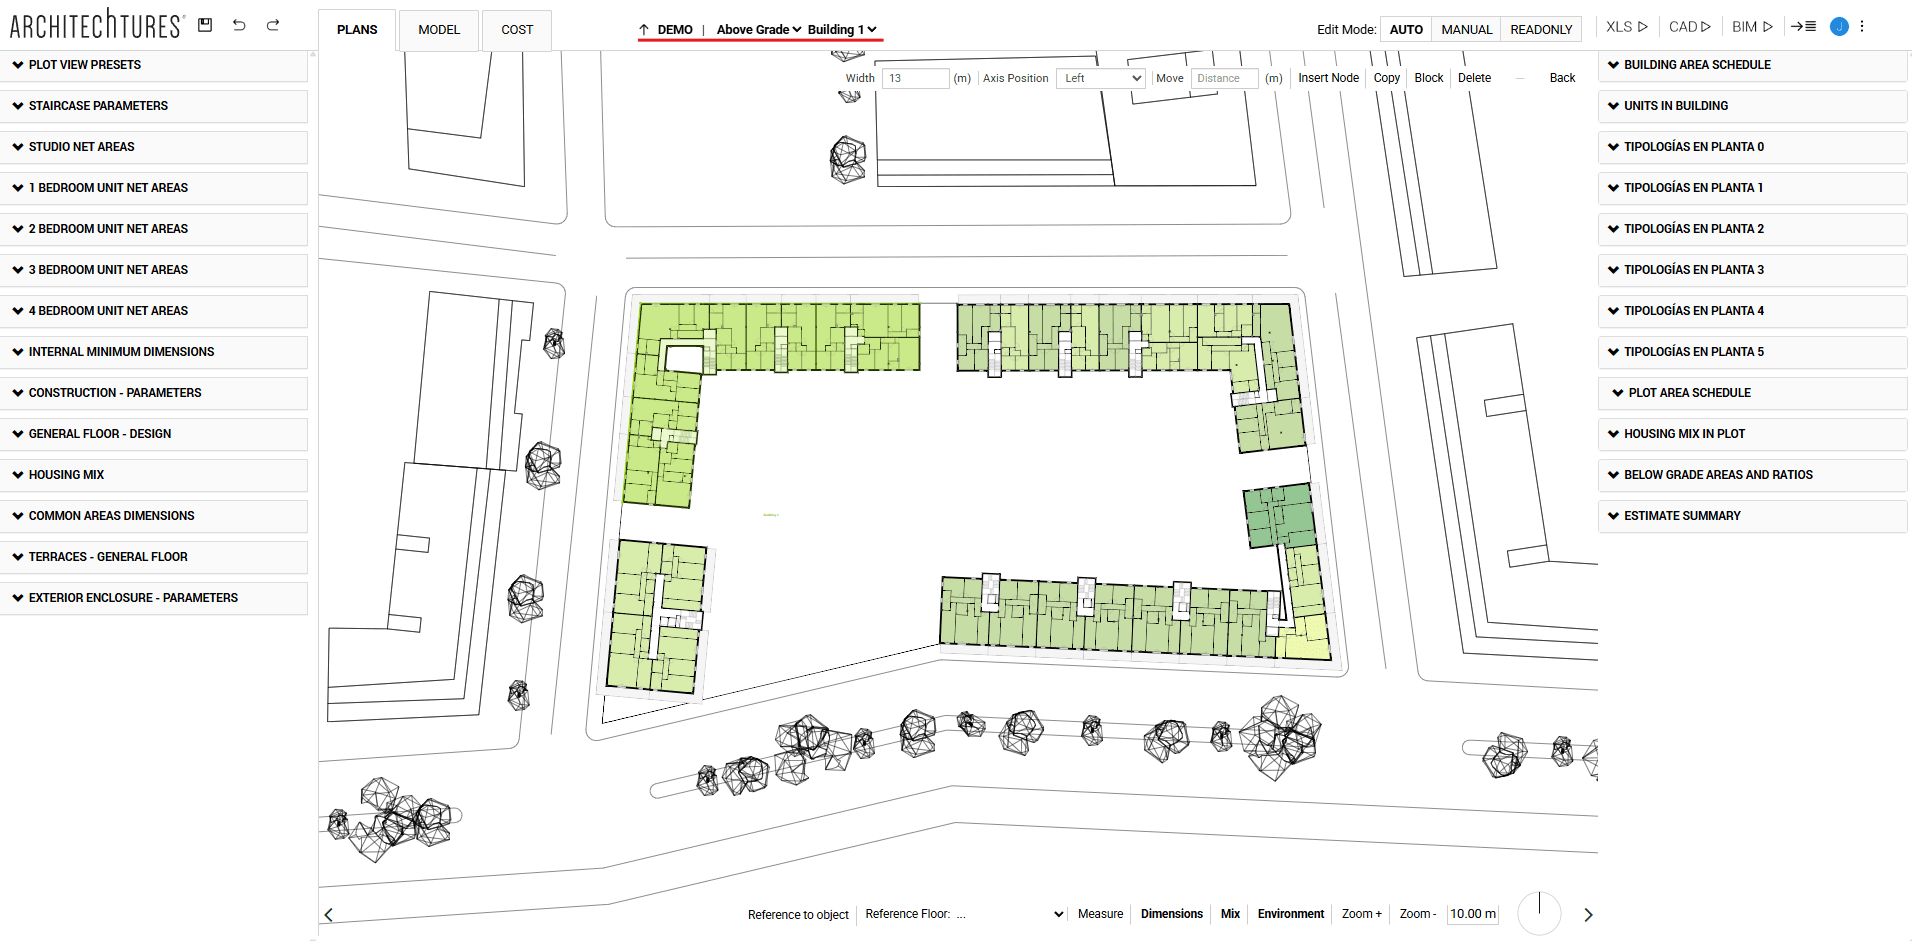
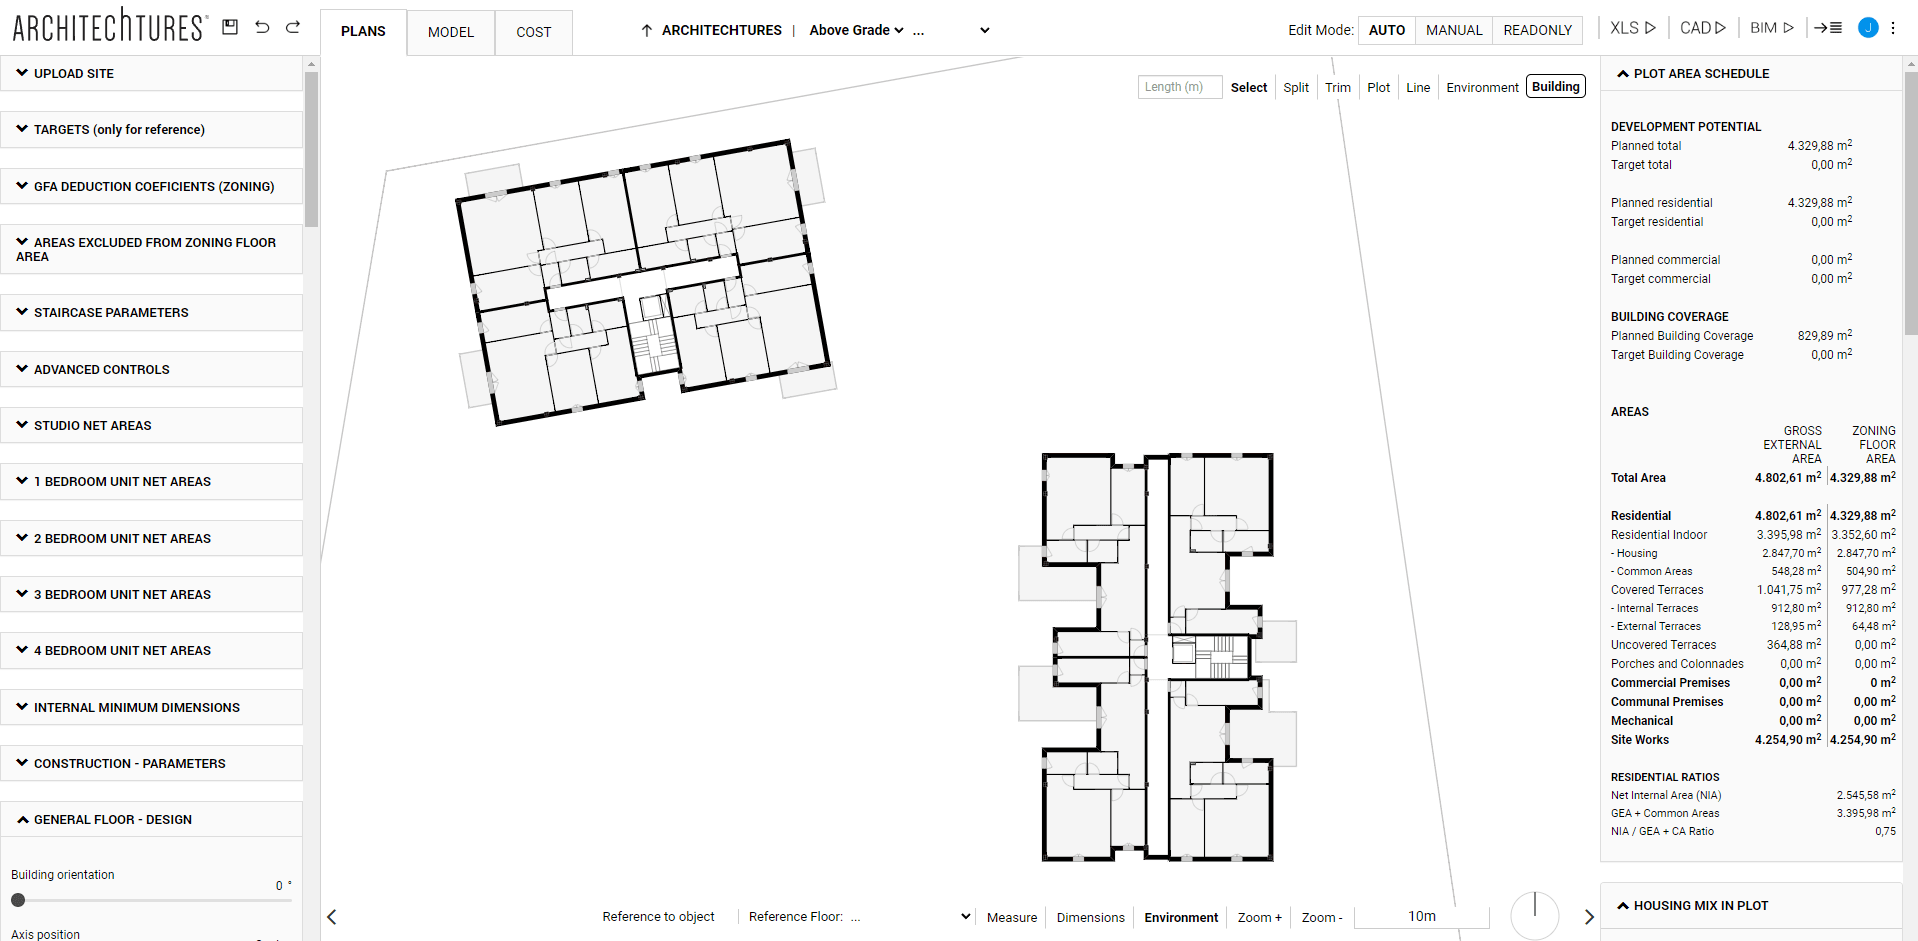
- Floor level view: we access by clicking on a building of the project from the plot level view.
- Unit level view: we access by clicking on an apartament of the project from the floor level view.
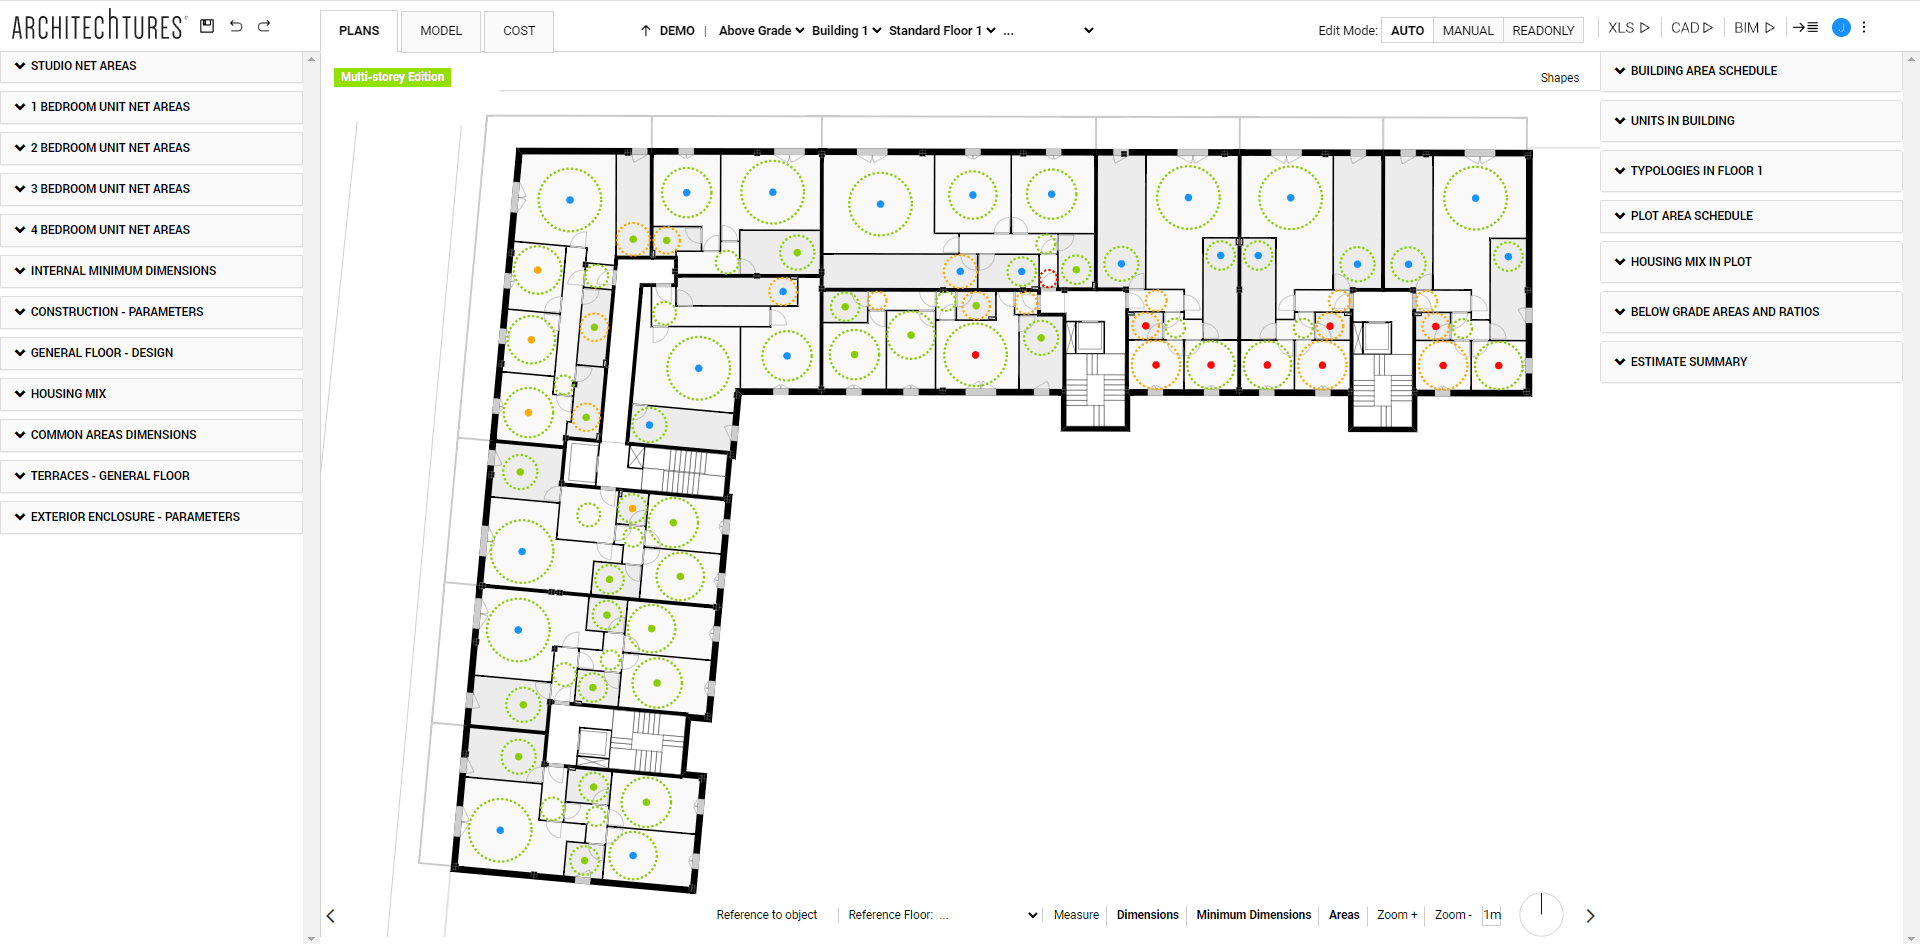
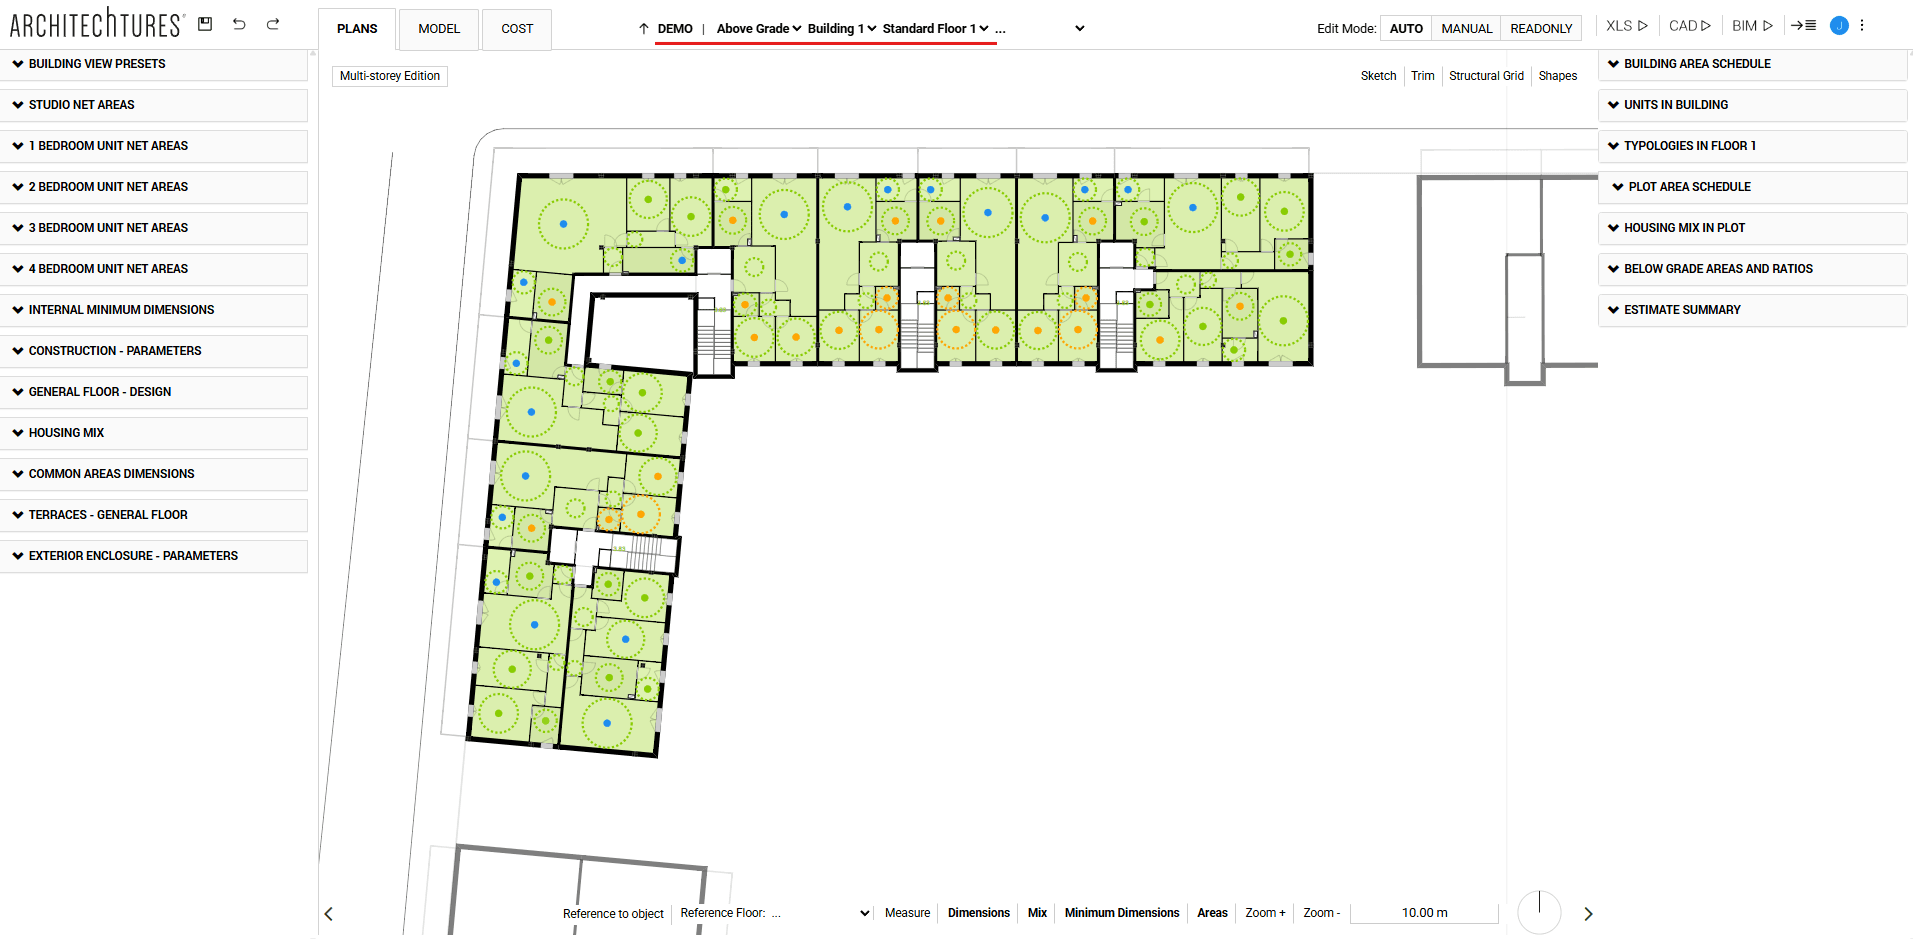
Multi-storey Edition
This corresponds to the third zoom level, i.e., the floor level.
Auto mode
In the upper left corner of the central window, in Auto mode, there is a button that controls the Multi-storey edition. When it is highlighted in green, indicating that it is enabled, a dropdown will appear to its right, allowing you to select the floors that will be affected by Multifloor Editing.
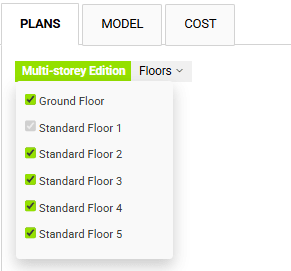
If we click on the Multi-storey Edition button, it will no longer be highlighted in green to indicate that it is disabled. While it is disabled, the changes we make will not be applied to the other standard floor, but only to the one we are working on.
Manual mode
The Manual editing mode is the third and last phase of project definition. In this mode the platform works like a CAD program, allowing us to draw and modify the geometry as we wish. Being a tool designed for initial phases, there are some limitations in terms of the level of detail achievable. However, it provides other advantages in terms of the number of automated processes from which we benefit.
When accessing the manual mode a pop up appears that we must close before we can continue editing the project. It informs us that changes in manual mode are lost if we return to Auto mode and recalculate the building. We must keep this in mind when planning the order in which to set up the building. The changes in manual mode must necessarily be the last ones to be made.
It is worth mentioning that in this editing mode there is no Multihouse editing button. However, this functionality is covered by the Copy function and the Multi-dwelling mode. In addition, the Copy function allows us to choose to which floors the changes are copied, giving more flexibility.
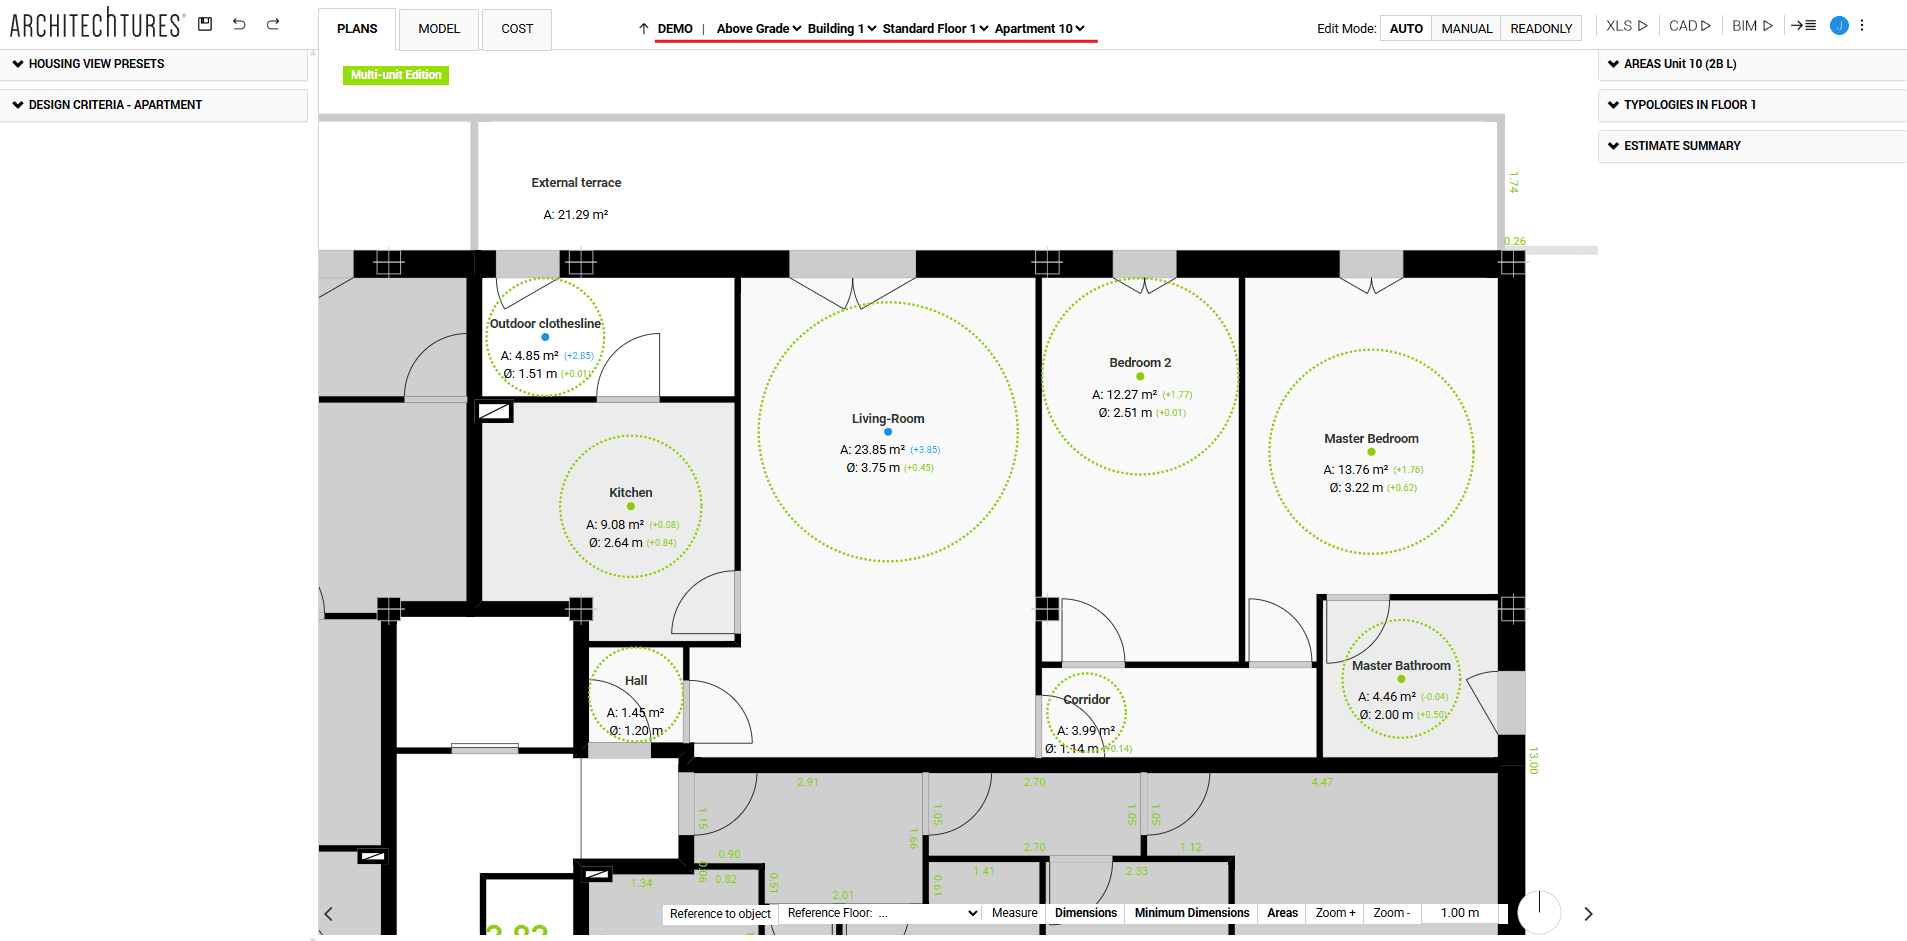
Multi-unit Edition
This corresponds to the fourth zoom level, i.e., the apartment level.
Auto mode
In the upper left corner of the central window, under Auto mode, is the button that allows us to enable or disable the Multi-unit mode. By default it is highlighted in green to indicate that it is enabled.
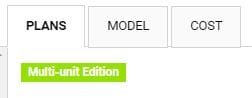
Similar to the Multi-storey mode, the Multi-unir mode allows us to simultaneously edit multiple instances of dwellings that are the same as each other.
If we click on the Multi-unit Edition button, it will no longer be highlighted in green to indicate that it is disabled. While it is disabled, the changes we make will not be applied to the other instances of other dwellings, only to the one we are working on.
Multiple Selection
As a complement to “Multi-unit Edition,” we can select multiple units to change their use. To do so, simply click on the units you want to change from the floor level; they will be highlighted and can then be modified using the dropdown menu in the contextual menu.
Manual mode
As for the Manual editing mode at the unit level, its behavior is the same as for the floor level, except that the copy option is not available.
TUTORIALS LISTING:
3. Creating our first building with ARCHITEChTURES
4. Deepening the design options
5. Editing modes: Auto and Manual